In this article, I want to show a practical example of how to set up Gitlab continuous integration for Flutter with test reports.
Tests need to be run all the time to be valuable. When they fail just after you introduce an error, you will know right away that what caused it. If your tests run too infrequently, you will have to troubleshoot longer and they will break more often.
This is why adding test runs to the continuous integration is one of the first things I do when I set up a new project. When I started Flutter two years ago, Github had not yet released its Github Actions. Instead, I began using Gitlab for my Flutter projects which have a free tier of Gitlab Continous Integration.
Until now, I haven’t been happy with my set up though. It has been really hard to read the output of the test run because the format is verbose.
But a few weeks back I decided to revisit this and I’m happy to share today my updated CI flow with you.
Why not having a test report is tricky
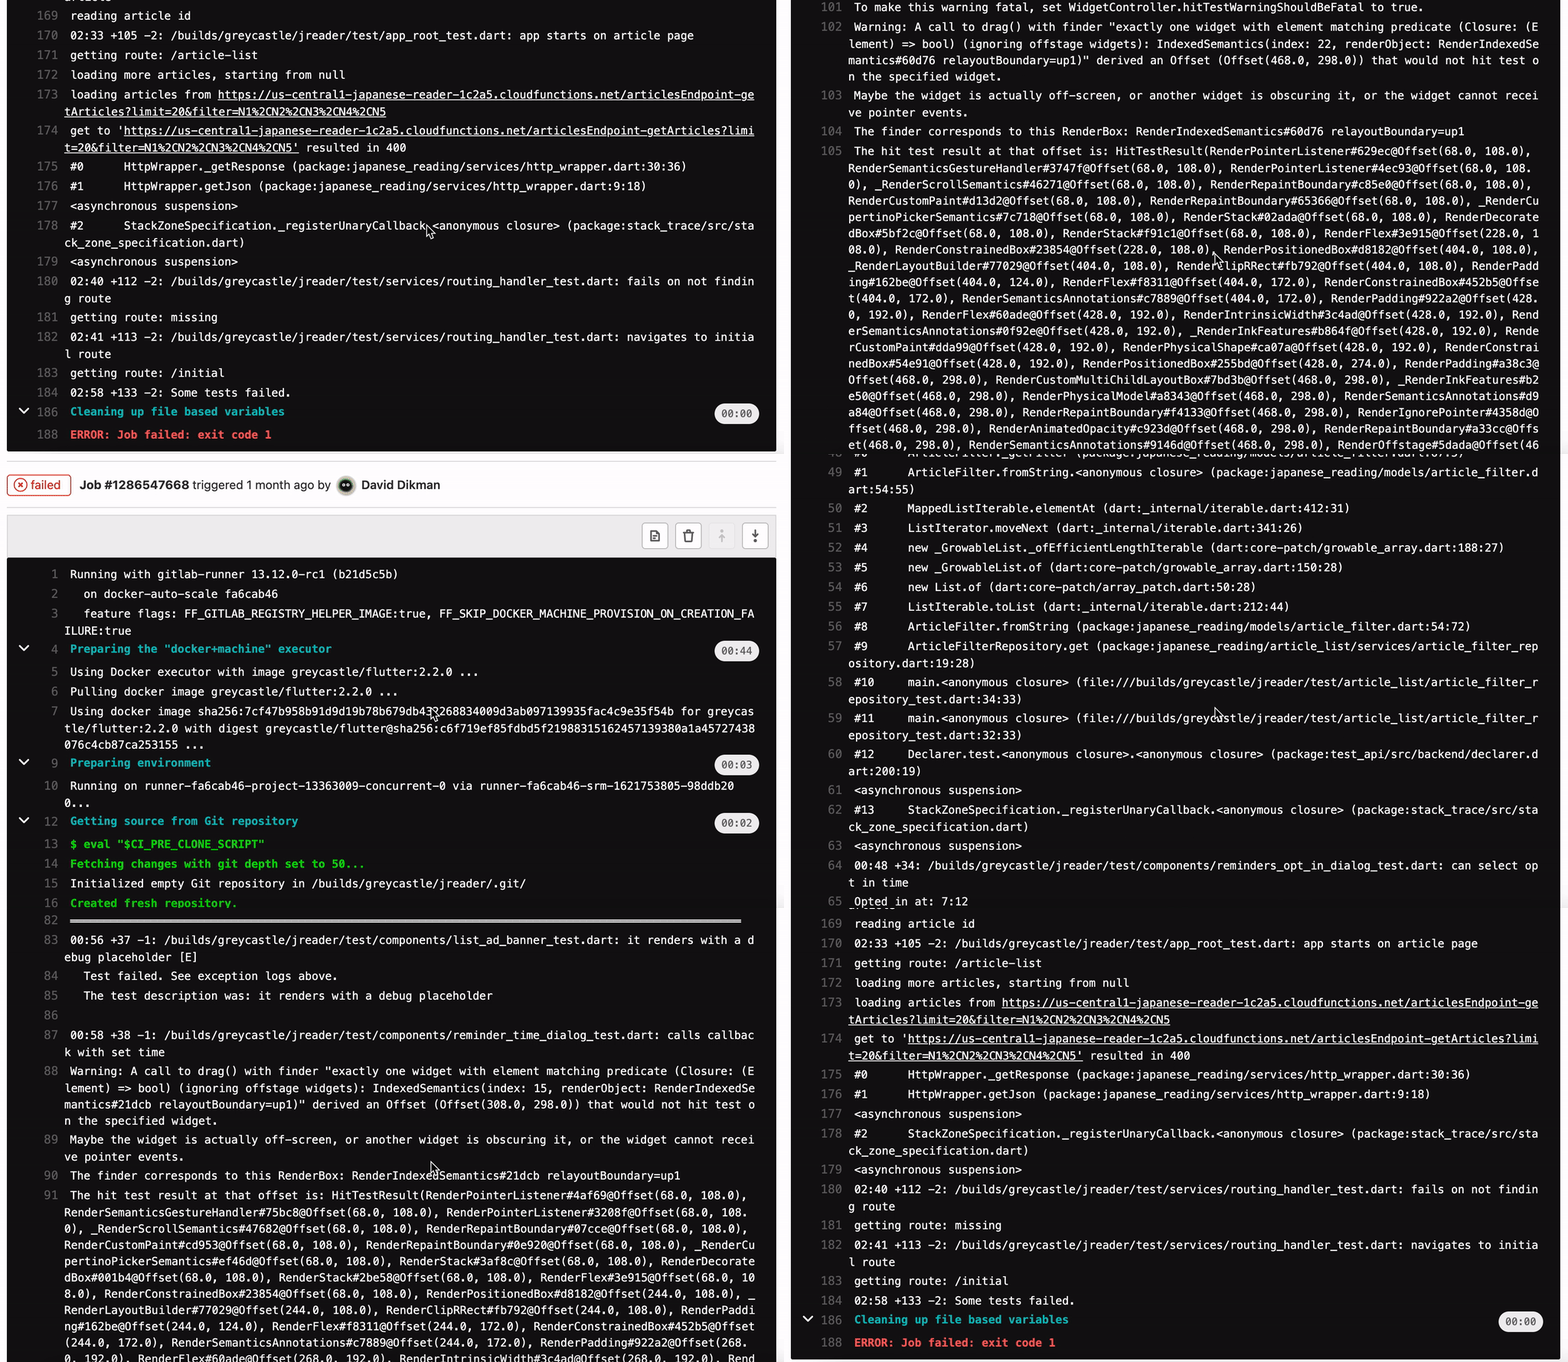
A picture says more than a thousand words. Here is how one of my test failures used to look like. It is hard to find which test is failing:
Trying to figure out where in a test log the actual failing test is
At the bottom of this test log, it will tell you how many tests failed. But to find which tests failed, you have to read through the log to try to pick them out.
Failed test report output
Instead, I would usually rerun the full test suite locally and find the failures. But there is a better way!
Gitlab CI supports displaying test reports
When I first started using Gitlab CI with Flutter I could not find any support for test reports but it looks like it existed already back in Aug 2018.
If you have used Jenkins or any other older CI system you are probably familiar with the JUnit XML test report. It’s become kind of a standard for reporting test results. It has wide adoption across platforms and tools and is simple but does the job.
As such that’s the format Gitlab supports. Finally, there is also a good package for Flutter to translate the Flutter test result machine output to JUnit XML so we can use it.
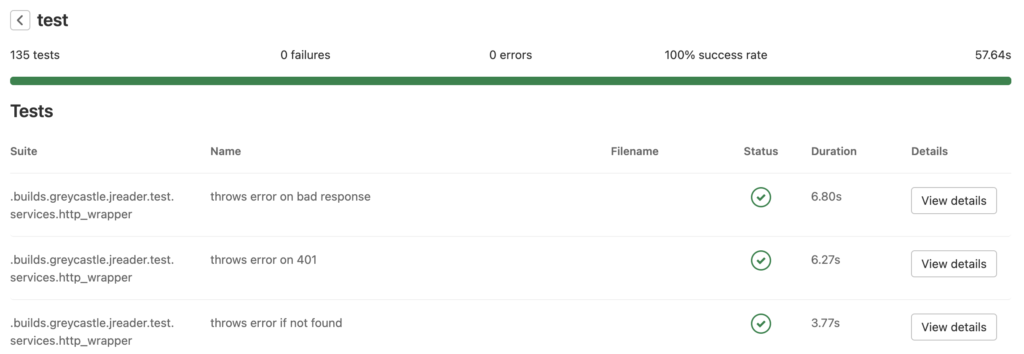
This is how it looks:
List of successful Flutter unit tests in Gitlab CI
With this, we get a nice clean breakdown of the tests ran and the results.
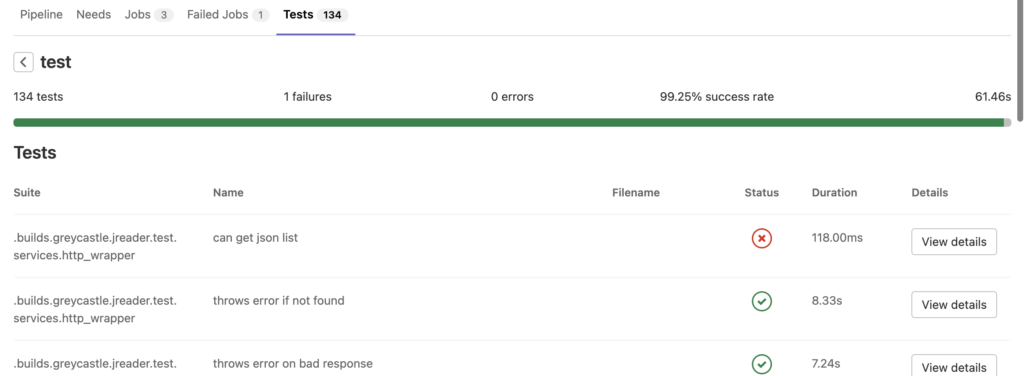
Failed test job in pipeline in Gitlab CI for Flutter
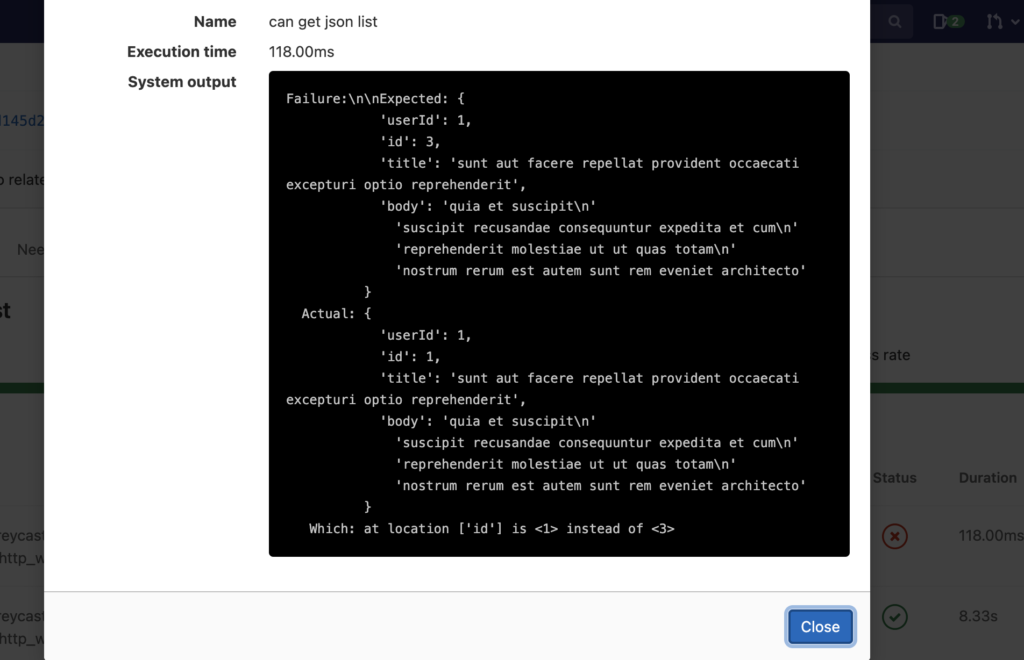
List of tests, failing ones on the top
Test log output
Compared to sifting through the log at the top, this is heaven. It makes troubleshooting a lot faster.
Also, it is easy to get this set up. I used the Gitlab guide and a this guide on how to generate the report.
Adding Flutter to Gitlab CI with junit reports
Let’s get practical, this is my actual Gitlab CI file for Flutter (and the repo for the container I am using)
The magic lines here are the artifacts part which will take the junit xml file generated and upload it to gitlab. Of course, you will also need to get access to the generator pub package which I do with this line:
pub global activate junitreportI call the tojunit package piping in the Flutter test report with machine output and then pipe this to an output file.
flutter test --coverage --machine | tojunit > testreport.xmlYou may notice that I’m splitting my pipeline into three steps, linting, testing and coverage. This is a bit overkill and does slow the pipeline down slightly. Initially, I did this to easily find issues in linting and I wanted to add a failure on low test coverage.
For the linting, I have found that it saves much more time to do a lint with a pre-commit hook. As for the coverage check out my post on how to report test coverage in Gitlab with Flutter.
Gitlab CI is easy to get started with
Getting started with Gitlab CI for Flutter is easy using this new package for generating xml reports. I spent an hour sorting out some minor issues but if you copy the code provided above, I am sure you can make it in 10-15 minutes.
Let me know how it goes or if you have any improvements to recommend, are you using some different report? I’m all ears!
